SCAD x PowerHouse VFX Week 4
- Poonya Tunkakutiya
- Oct 3, 2022
- 2 min read
Updated: Oct 10, 2022
Due to the possible hurricane, we were not able to shoot our videos like how we originally planned. I continued to work on the arm model, while others continue to work on getting more familiar with the tools and techniques on how to create each CG.
Since we were not able to meet up in person, we had a zoom call to talk about what our next step is. We all agree to change up some parts of the story due to limited time.
3D Models
I added more details on to the arm, especially the top part. I created another layer on the top of the model, so it is easier for the protagonist to interact with. It went through a few iterations, however, this is our final version of the arm.

Final version with smaller wires and additional circuit board.

First version with thicker wires.
While waiting for the feedback from my team, I started working on the integration on our protagonist's face.

Scanning Actor's Arm
Moving on, we realize that it might be best for us to create a photogrammetry of the actor's arm. Thanks to Joleen who made a live action test, we noticed that the actor's arm might be smaller than we thought it would be. This is why we are thinking of photogrammetry approach in order to match the 3D models to the actor.
Here are some images that I capture with the help of Joleen.

Next step is to run them through a photogrammetry software. I will try to use a software called Agisoft Photoscan first. If it doesn't work the way I wanted to, then I will try using Reality Capture instead.
Before I can put all the images into Photoscan, I need to make an adjustment on the photos first. With the help of my friend, Kano, who is working with the other team as a drone scanner, he guided me through the process. I needed to make those images as neutral as possible by following this set up.


After I edited all the photos in Adobe Lightroom, I transfer all the images into Photoscan to find out that we made a mistake while collecting the photos...

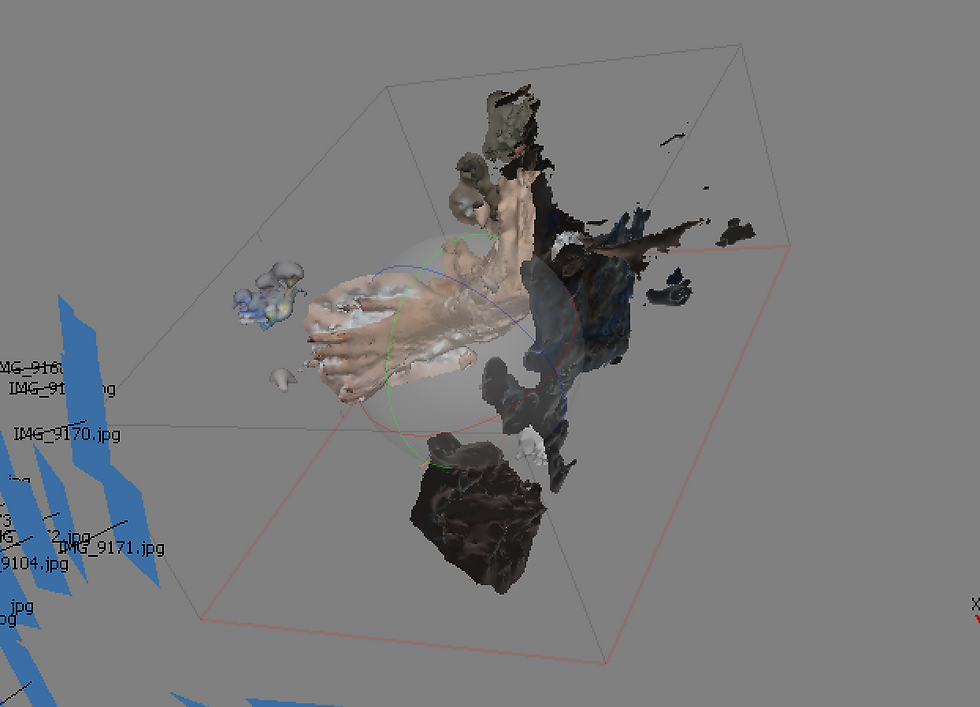
The mesh that I created were deformed and scattered around, meaning that the mesh can not be used since it does not give us the information that we needed. I am assuming that it is because of the white background and not enough information to differentiate different parts of her arm.
The quick solution that I was thinking of is to retake the photos with marks on her arm. This is to help tracking the arm itself better. My plan for now is to take the photos again during the shoot. We can use the make up to marks different part of the arm, which will help the software register the arm better.
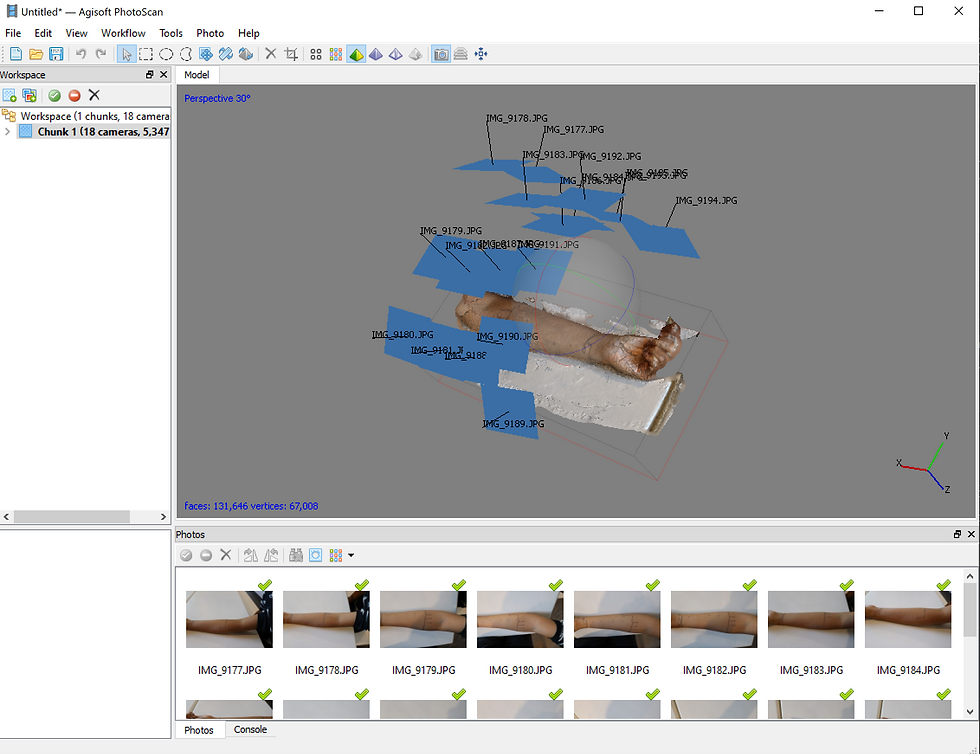
Thanks again to Joleen who was willing to vandalize her arm with drawings, I tried the method mentioned before a second scan with the actor's arm.

This is a result of the quick assemble of Joleen's arm. It seems that the new method works perfectly fine! The quality is definitely not perfect, however, we at least know that it could give us the basic information that we needed.


Comments